Shleeve
New member
I remember somebody discussing this in a thread at some point but I've searched and can't find the post. Anyways, as I'm sure you all know the US model of this bike comes stock with a plastic insert in place of the bulb in the yamaha emblem light above the headlight.
I wanna do this but I'm a total noob on lighting, what kind of bulb do I need and can I wire it to the leftover "running light" wires from my stock front turn signals?
After I get some guidance and get in there to do the mod I will be happy to take pics and create a small walkthrough")
EDIT:
I said I was gonna make this a walkthrough, so here it is
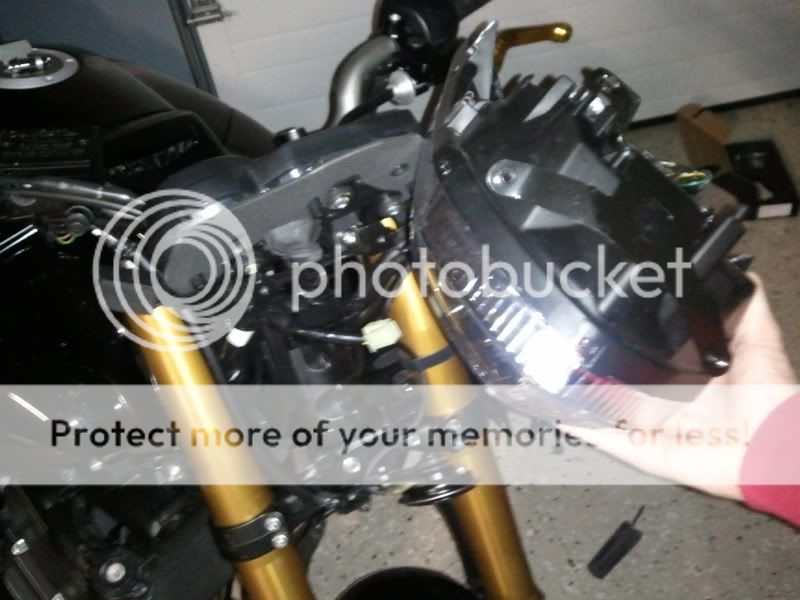
Step 1:
Remove headlight.
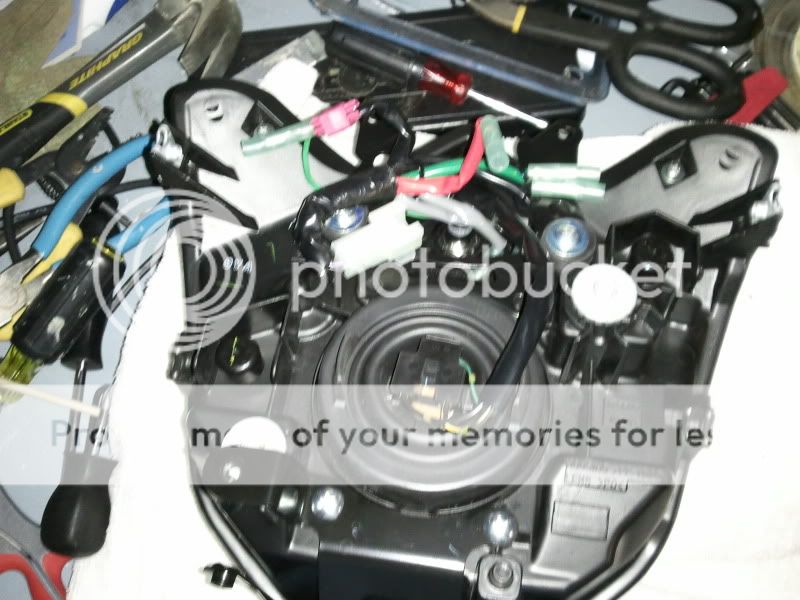
Step 2:
Find this thingy on back of headlight.
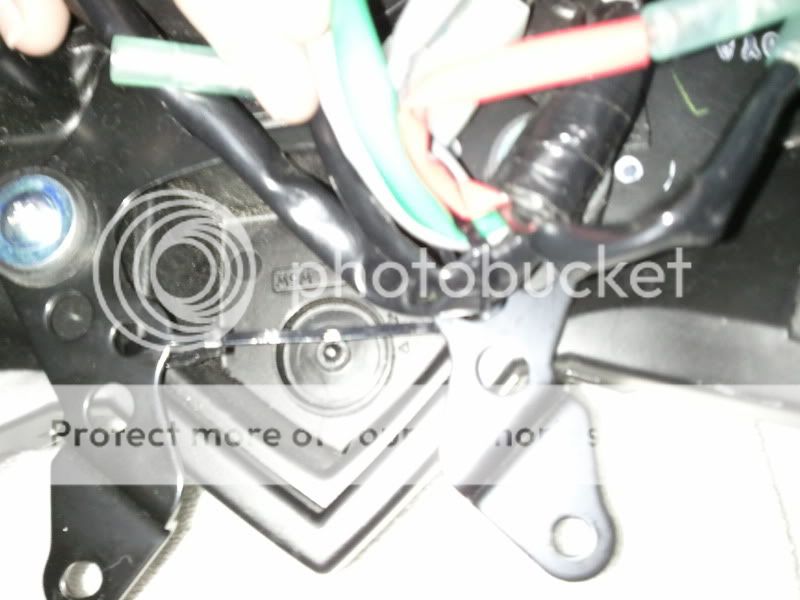
I chose to dremel off the nipple before I drilled to get the drill more centered.
Step 3:
Drill
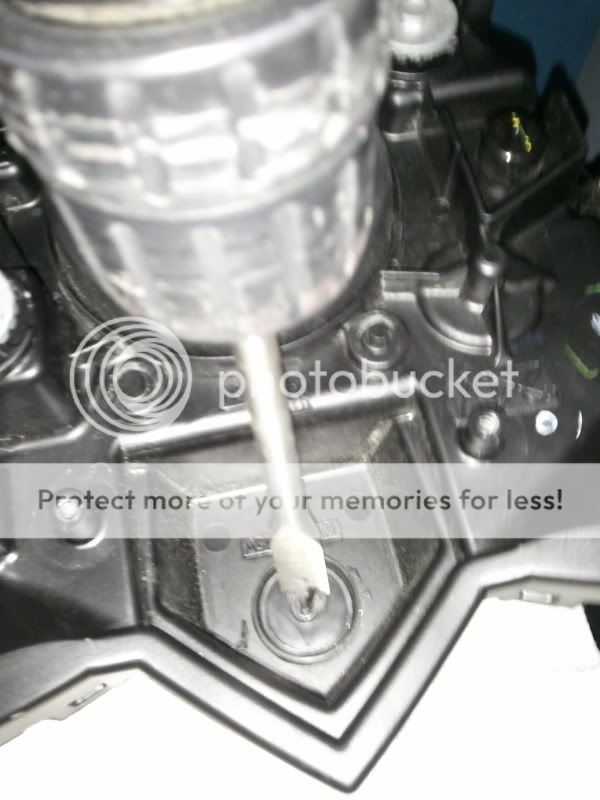
Important:
After drilling, be sure to get all of the loose pieces of debris out of the light housing. I used a Q-tip.
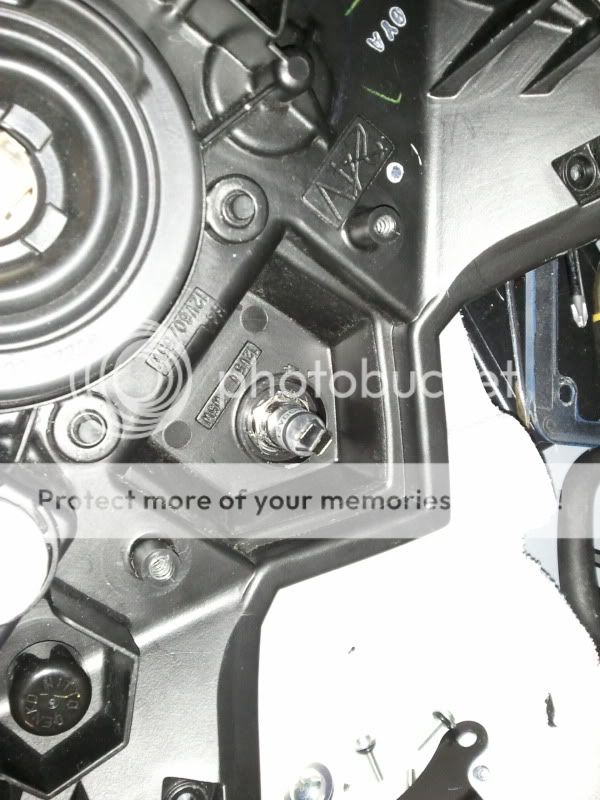
Step 4:
Insert your light.
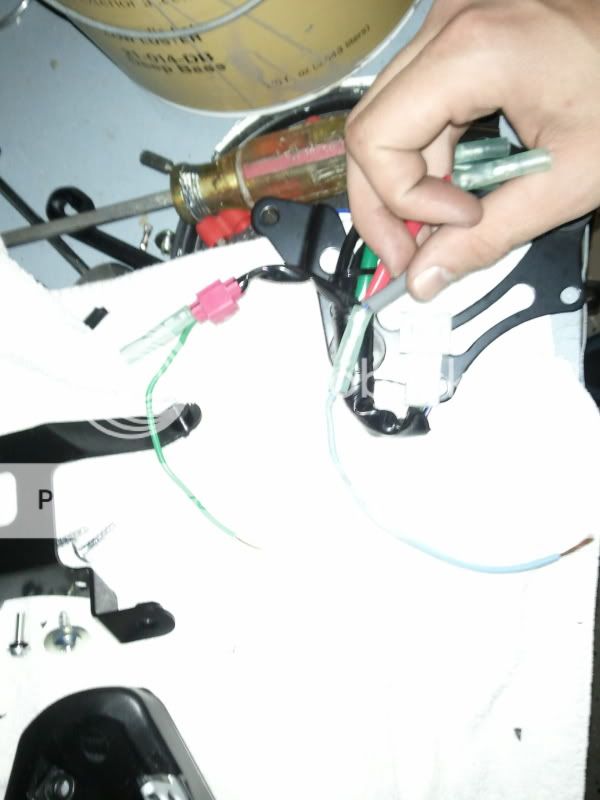
Step 5:
Wire to the running light from a blinker (gray) and a ground (black). Since I have LED blinkers my running wires are unused and I had a male connector laying around so I used that. For the ground I had to splice in a wire.
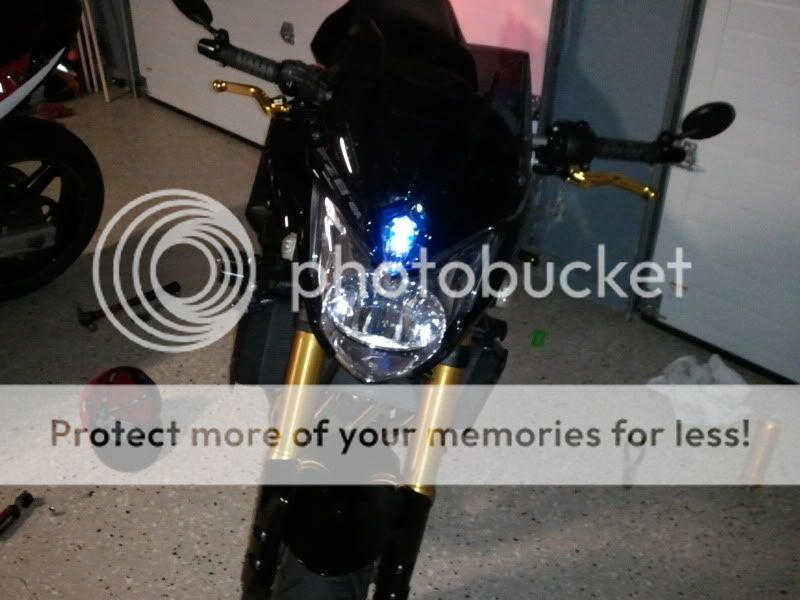
Step 6:
Finished! Reinstall assembly.
Step 7:
......
Step 8:
Profit.

I wanna do this but I'm a total noob on lighting, what kind of bulb do I need and can I wire it to the leftover "running light" wires from my stock front turn signals?
After I get some guidance and get in there to do the mod I will be happy to take pics and create a small walkthrough
EDIT:
I said I was gonna make this a walkthrough, so here it is
Step 1:
Remove headlight.
Step 2:
Find this thingy on back of headlight.
I chose to dremel off the nipple before I drilled to get the drill more centered.
Step 3:
Drill
Important:
After drilling, be sure to get all of the loose pieces of debris out of the light housing. I used a Q-tip.
Step 4:
Insert your light.
Step 5:
Wire to the running light from a blinker (gray) and a ground (black). Since I have LED blinkers my running wires are unused and I had a male connector laying around so I used that. For the ground I had to splice in a wire.
Step 6:
Finished! Reinstall assembly.
Step 7:
......
Step 8:
Profit.
Last edited: