
phunksouljah
Member
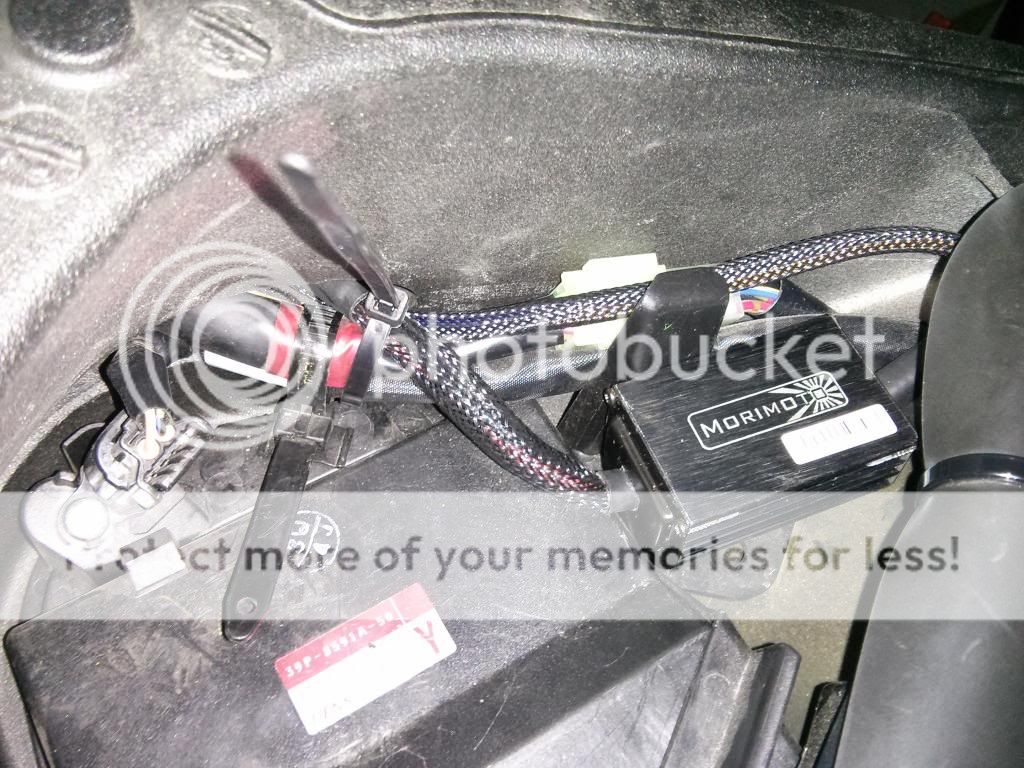
So I started with the wiring harness tonight. Lifted the tank and removed the airbox (still stock) and stuck the relay and harness under there (thanks MotoZen!). Was able to get the aibox back on there without any issue.
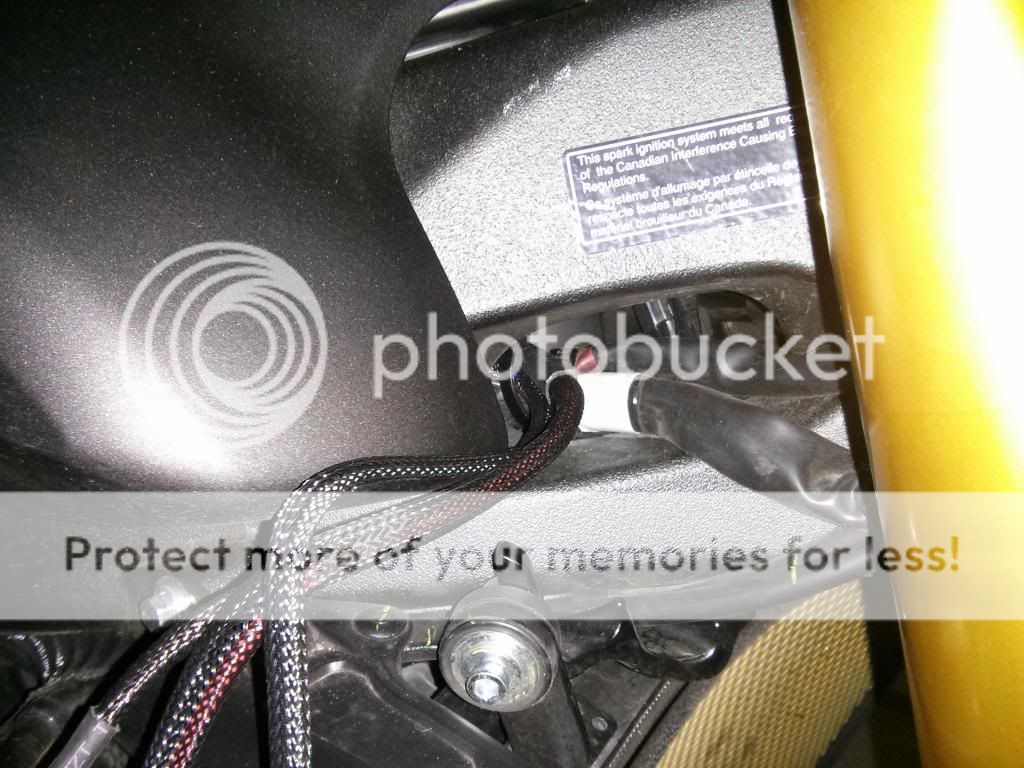
Ran the wires out of the right side opening.
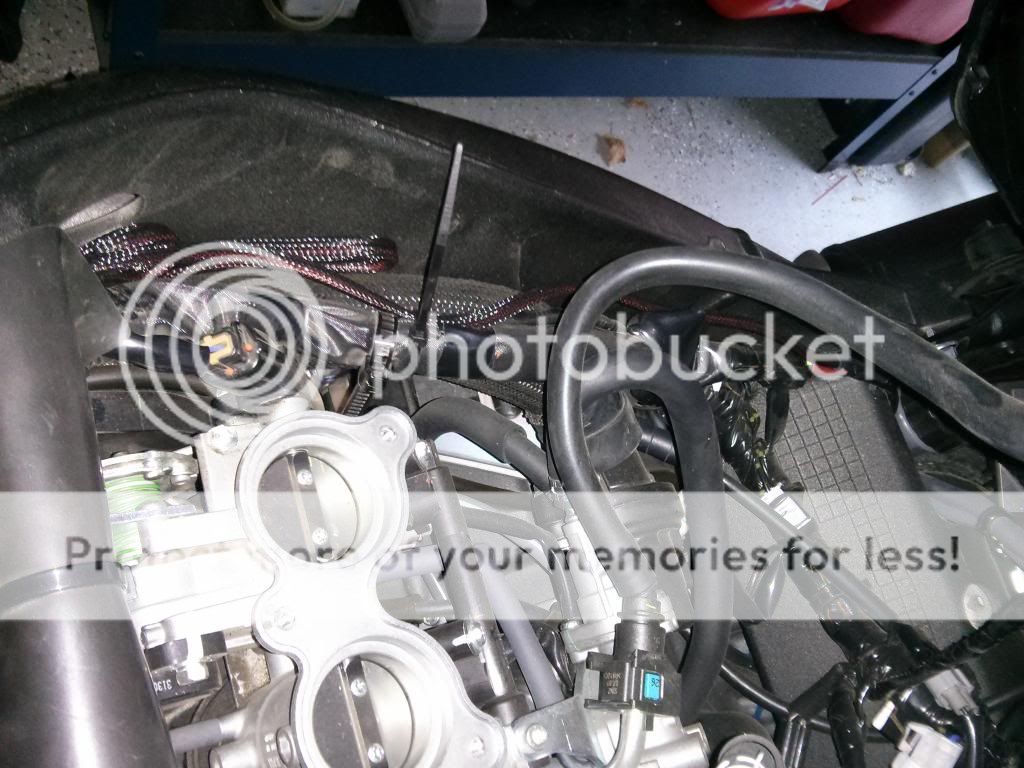
Ran the wire on the right side of the bike, towards the back, you can see the uncut zip ties holding it in place.
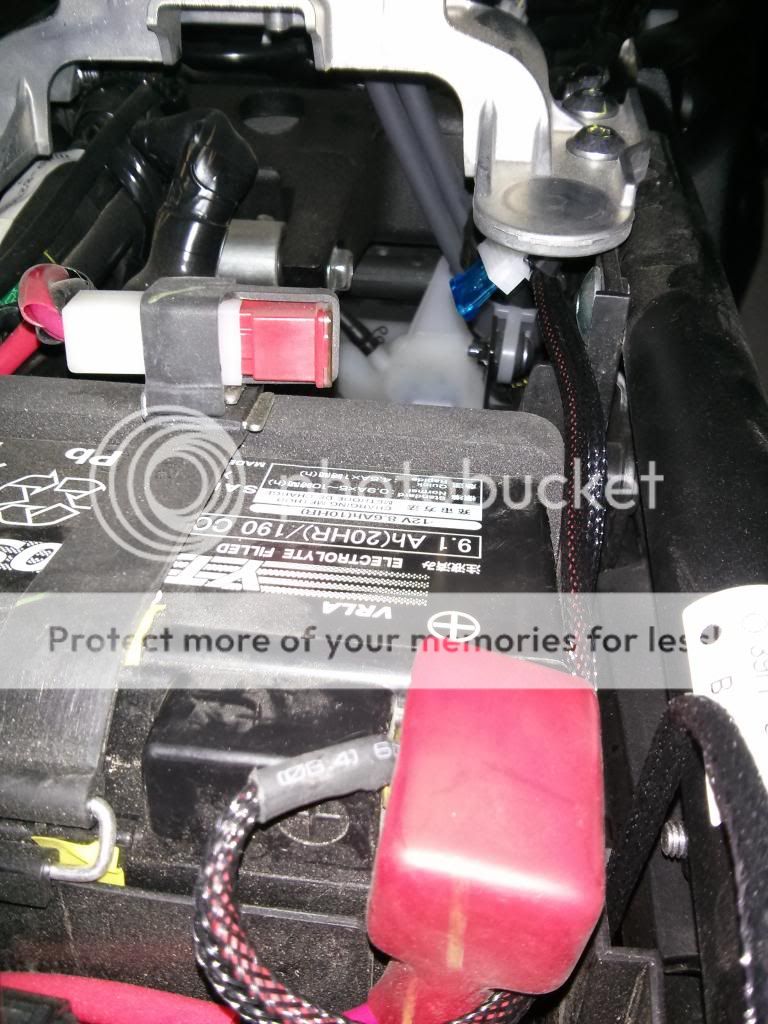
Ran the wire under the tank mount...
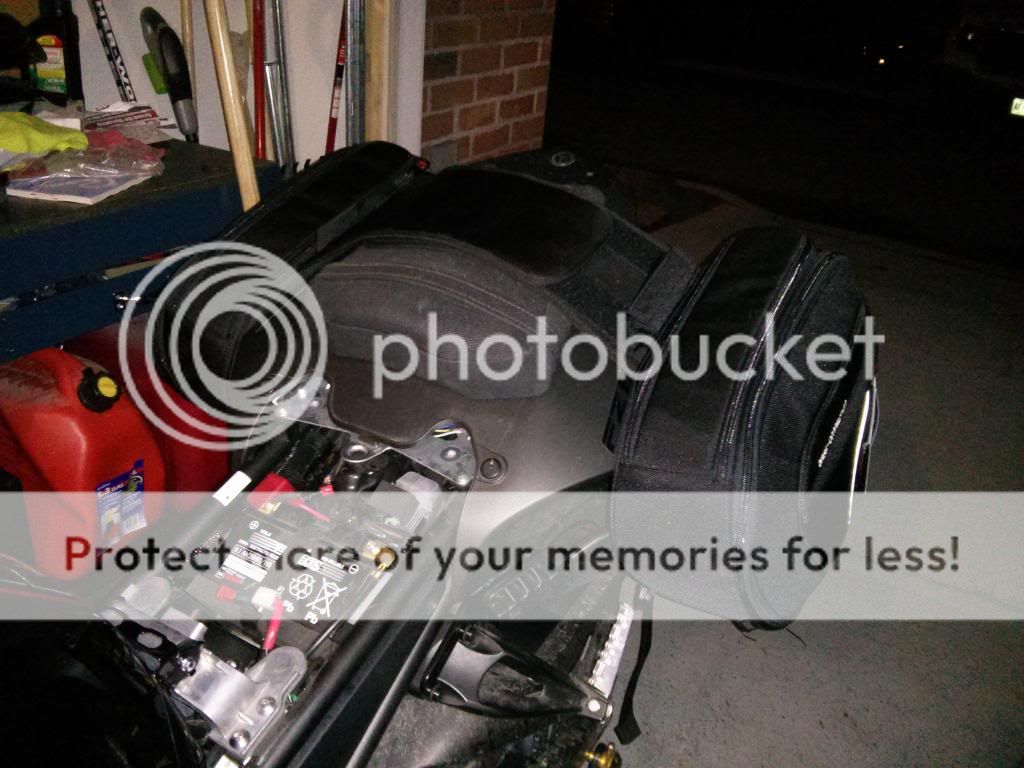
Going to mount the ballast and finish it up tomorrow. Figured while I was out there, I'd setup the bags I got over the winter...
I really need to give her a wash...
Ran the wires out of the right side opening.
Ran the wire on the right side of the bike, towards the back, you can see the uncut zip ties holding it in place.
Ran the wire under the tank mount...
Going to mount the ballast and finish it up tomorrow. Figured while I was out there, I'd setup the bags I got over the winter...
I really need to give her a wash...
